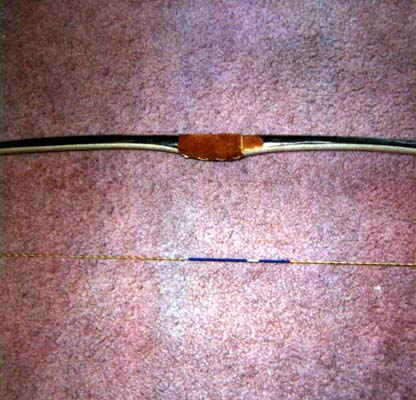
Handles are a very personal issue. The handle should be comfortable with any design. All edges should be rounded and the hand should fit comfortably in that area for it is there that the archer and bow shake hands and connect. Some handles are easier to create than others. I shall describe them from the easiest to the hardest to carry out as I see it. On a bow that bends in the handle no actual handle area is evident. Often only a a leather handle or a mark delineates the handle area.
The handle design on a rigid handle bow is important. Some bowyers prefer the handle centered and lying equidistant from both limbs. The fade area can range from 1-2 inches while the handle proper is four or so inches in length. This is the easiest design for the beginner.
All of the above designs work well but this is the one that I prefer. The lower limb is under more stress than the upper limb since I shoot with the 3 finger or Mediterranean style. I compensate for that by tillering this limb a little stiffer- about 1/2 inch. I don't like bows with different sized limbs so I make them the same size by adjusting the upper and lower fade area. Al Herrin describes this design in his book Cherokee Bows and Arrows which is available from most dealers.
My non bending handle section of 7.5-8 inches allows for most of the bow's length to be used for propelling the arrow. I leave it wide and a max of 1.75 inches thick until the end. I bring the bow to full draw and then I mark out and cut the handle. I can postpone my choice of upper and lower limbs that way even though I may have the eventual limb orientation in mind. Find the center, measure up 1.25 inches and down 4 inches from that. That's the handle area. The arrow is shot 1.25 inches above center. Measure down 1 inch on the lower limb for the lower fade. Measure the actual limb length on the lower limb and adjust the upper fade accordingly to make both limbs the same size. It should be 2 inches or more. The bending portions of both limbs are about the same size even though it may not appear that way because of the handle design. Do spend time getting the bow to begin bending just after the end of the fades.
Here is a picture of the handle design I just described. This handle is very comfortable, indeed. The width I prefer is 1.25 inches but this again is a personal issue as my hands are large. However, if the handle is less than that, then the thickness should be increased up to 1.75 inches.

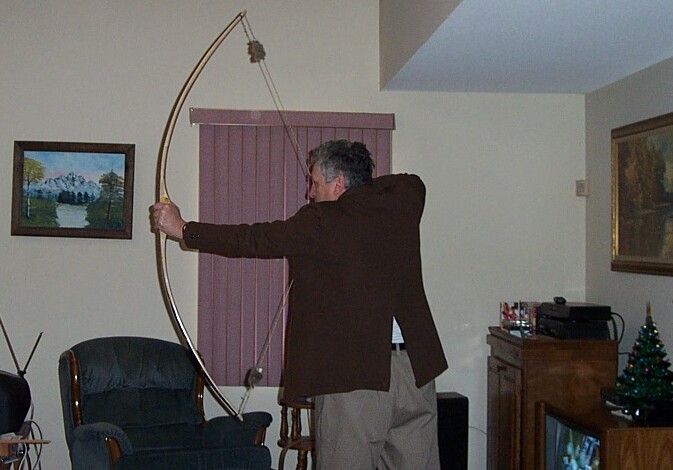
Here is a bow, with my favorite handle style, at full draw.

There is another type of handle which is off set as I have described above but with the fades the same length on the upper and lower limbs. To compensate the bottom limb is made shorter. This design also produces a bow that is balanced in the hand but care must be exercised in tillering the lower, shorter limb and the decision regarding upper and lower limb orientation must be made very early in the bow making process.
Enjoy!
All rights reserved.
