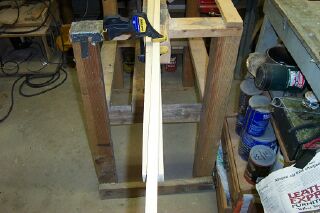
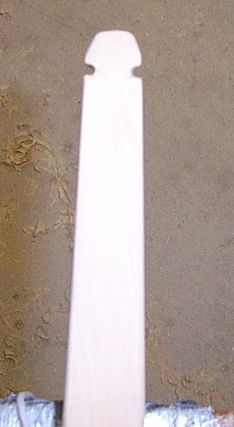
The stave is 68 inches tip to tip, 1.5 in. wide and 1 inch thick. I decided to make a flatbow and allow the bow to bend in the handle.
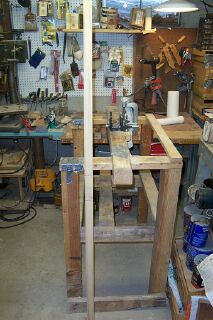
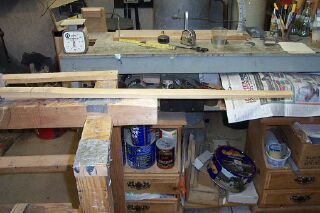
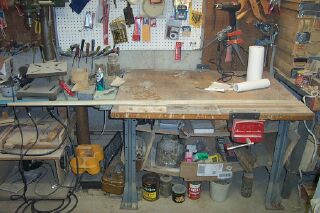
Having a durable bow bench aids the bow making process. Here's mine.
Making a Bow Bench may be found elsewhere on this site.
I began by removing all saw marks from the back which I did with my shop belt sander and random orbit sander. I then marked the center point of the stave which is 34 inches and measured 2.5 inches on either side of that for a 5 inch handle. While I am tillering I will leave the handle area alone. I will also leave it 1.5 inches wide for now anyway.
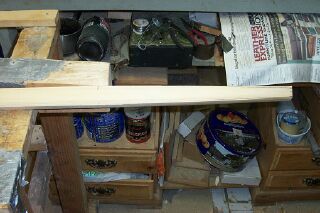
Next I measured and marked a line 16 inches (just past mid limb) from the end of the 5 inch handle on the upper and lower limb. At the tip from the center point I measued 3/8 inches on either side for a 3/4 inch nock. It he drew lines from there to the nock on either side and on the upper and lower limbs.
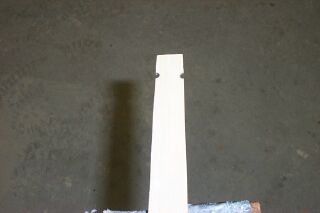
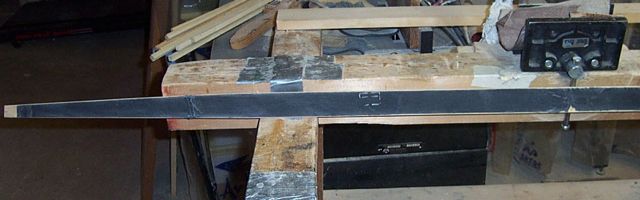
Width measurements are done and ready for drawknifing to shape.
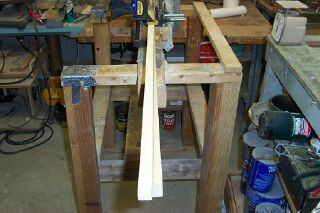
Here she is with the width cut to shape. I went close to the lines with the drawknife and smoothed it out with the shop sander.
To cut the thickness taper, I measured at the tip down 3/8 inch. Using a straight edge and clamp I drew a line to the end of the 4 inch handle. I never used this wood before so this is an ever evolving design. I decided to go with a 4 rather than a 5 in. handle.
Initial belly tapering was done with the drawknife.
Later the stave was floor tillered with the shop belt sander. Again, with the design still fluid, I decided to mark in 1.5 inch fades on both limbs. Floor tillering involves holding the stave in your right hand. With the tip of the stave on the floor lean into the bow and check the bend. Here's the stave rough tillered.
Next on the list is long string tillering. I use an old sash cord looped at both ends and about 1.5 times greater in length than the length of the bow. Long string tillering let's me see how the limbs bend and return in unison hopefully.
I do not use a tillering stick preferring to use a rope and pulley as I think they are safer for the bow and the bowyer.
Bow Making Directions may be found elsewhere on this site and show my portable rope and pulley.
Before long string tillering, we must cut the nocks to hold the long string. I cut all my nocks the same. I have already described the procedure. See Building a Boardbowwhich may be found elsewhere on this site.
Basially, I measure down 1/2 inch from the tip, draw a line, measure down another 1/4 inch, draw a line, connect with a diagonal line, make a pilot cut with a hacksaw and widen it with a 1/8 inch chain file.
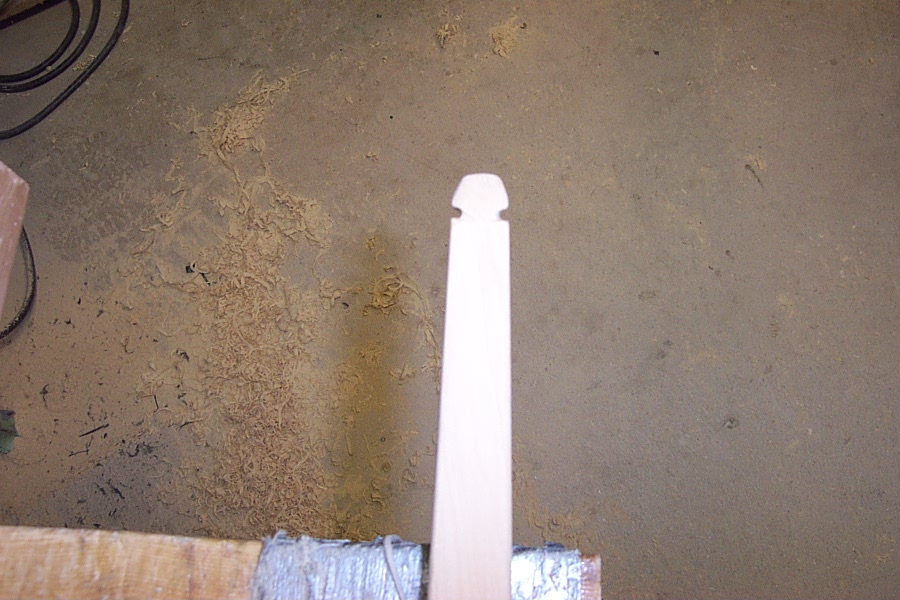
Here is the rough cut nock.
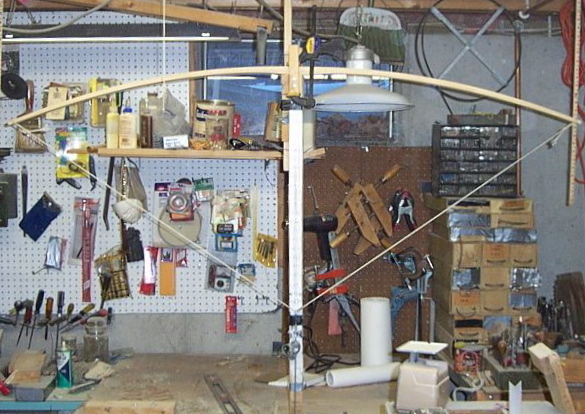
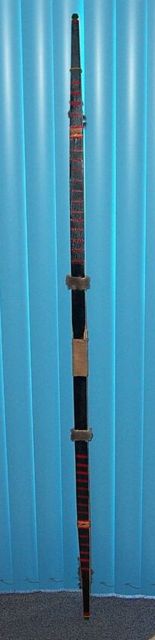
The next step is long string tillering as described above. I long string tillered this stave out to ten inches checking the weight with my scale. The black tape represents 10 in. of string travel. I obtained 50# of bow weight at that distance indicating the stave is ready for its first stringing as described in Bow Making Directions elsewhere on this site.
Here's the lemonwood stave long string tillered.
I decided to back this stave with silk since I had to sand the back to remove saw marks and because lemonwood is very fine grained making it difficult for me to asses the structure of the edge grain.
Silk Making Directions may be found elsewhere on this site.
I decided to pre stress the stave by suspending a 15# wieight from the middle before applying the silk. To apply the silk I used 1part water to 4 parts glue solution. I sized the back of the stave with glue and let it dry for a minute or so. I brushed on more glue and stretched the silk as I applied it clamping as needed. Afer a few minutes I checked the edges and applied more glue as required. For the final step I brushed more glue onto the back of the silk and smoothed it down.
After letting it dry for a day, I trimmed the silk witth a sharp jackknife and then sanded the edges. To tame up any frays I brushed on some more glue at the edges.
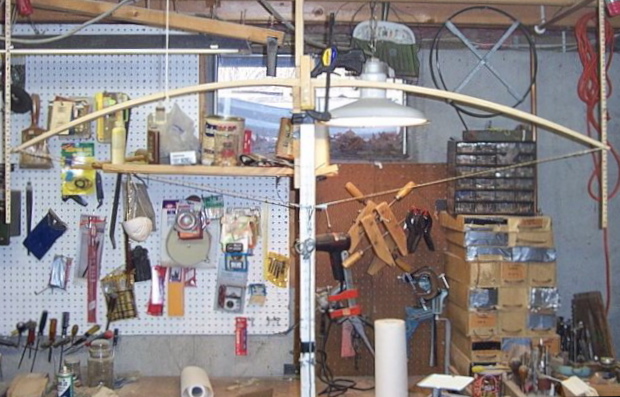
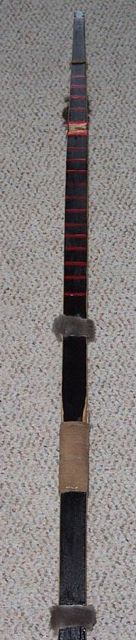
Here's the stave braced for the first time and drawn to 10-14 inches. Tiller looked good. I scraped the right limb just a bit.
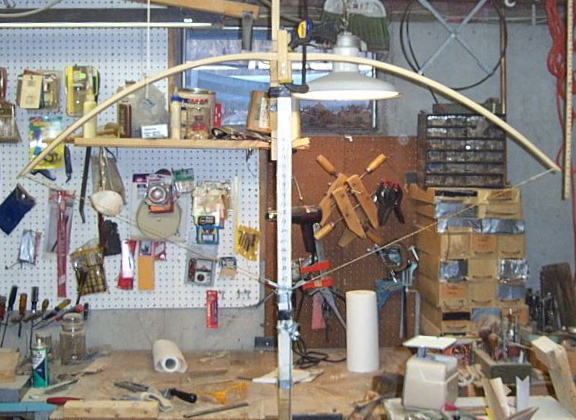
Tiller looked pretty good from the beginning. Most of the tillering involved weight reduction which was done with the Swedish drawknife used as a scraper. I was careful not to draw the bow more than 5# over final target weight. As I brought the bow to full draw I increased the brace height. At 20 inches I noticed the stave beginning to take some set on the outer pqrt of each limb. I was careful not to remove wood from that area until I reached 26 inches of draw. The bow is now 27 inches and draws 52# which is just right for a D bow that has a slightly stiffened handle section. The term D bown refers to how the bow looks when drawn and not to the cross section of the belly which is flat. Here's the bow at 27 inches. I like to tiller the bottom limb 1 inch or so stiffer since my rope and pulley is set to pull from the middle of the string and since I shoot with a split finger draw. Please realize that the picture is tilted.
At this point all 4 edges have been rounded and the handle area is rounded for comfort in gripping.
Here's the final shape of the nock.
At this point all nicks have been removed with a jackknife used as a scraper and the bow has been sanded with 100 grit sanpaper. Furthe,r the wood has been moistened with a paper towel, allowed to dry and sanded with 220 grit, 400 grit and 600 grit sandpaper for a nice smooth finish.
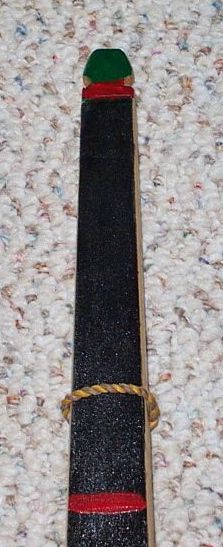
Here are the pictures of the finished bow.
The nocks are painted green with a red border. The red markings are Mohegan in nature. See P 32 Native American, Bows, Arrows and Quivers by Allely and Hamm. There follows a wrapping of red fly tying thread, artificial sinew and red flying thread. Followed by more red markings and a wrapping of fur. The thread, artificial sinew and fur were put on with Titebond II. There purpose is to hide seams in the silk backing. The decorations repeat on the other limb.The handle because it is onuly 1 inch thick has 2 glued on pieces off leather one in the front and one on the back to give it some body. The shelf is leather and is barely noticeable. A wrapping of leather lace set in Titebond II finishes the handle.
Rust-oleum Painters Touch is the final coat. The finish was sprayed over the artificial sinew, thread wrappings and handle lace. The fur was installed after the spraying. The strike plate is also rabbit fur. Strips of rabbit fur are alson installed as silencers. Hope you enjoyed the tutorial.
Copyright Feb 2004. George C Tsoukalas
