Osage bows function better with a heartwood back. All the sapwood needs to be removed down to the best heartwood ring. Look at the butt end of the stave and choose one but be sure to leave enough wood for the bow.
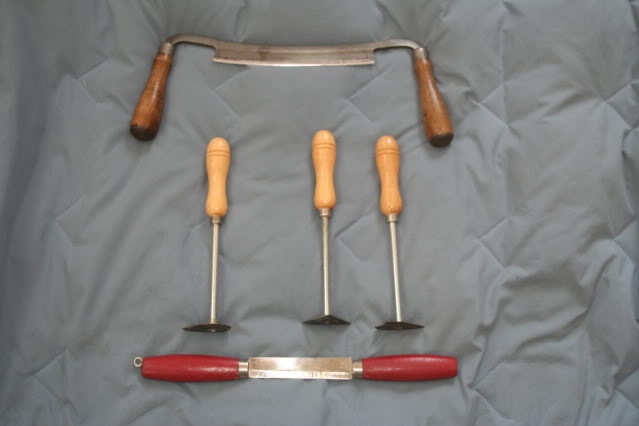
From top to bottom, the tools I use are a drawknife, shave hooks and Swedish push knife.
When I chase a ring I look for the ring I want on the butt end of the stave. I go up the right side for a foot, down the middle and up the left. I am searching for the next ring on the right edge. That way if I miss, it won't matter because the mistake will come off while shaping.
I go to the right of a knot and around the left never loosing sight of the ring. A few observations. First, first it's pretty difficult chasing a ring with a drawknife only because rings often dip and are irregular. You can get close but the final chase needs to be with a curved tool. I use shavehooks particularly the curved one.
Often the tool will begin to chatter as you enter the pithy early wood and get into the desirable late wood.
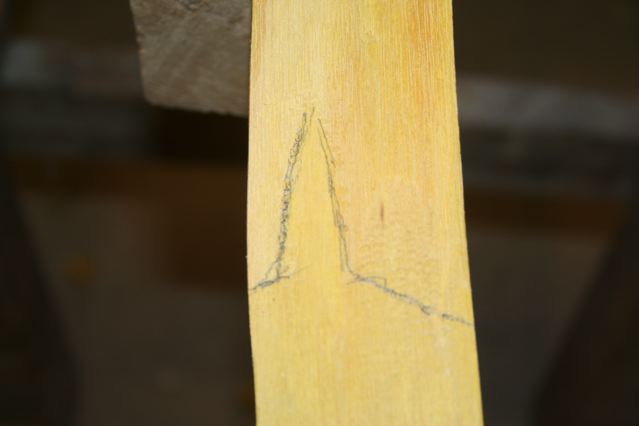
Draw the center line following the longitudinal grain. It runs tip to tip.
I wanted a width of 1.5 inches so I measured 3/4 inch on either side of the line. On either side of center I measured 2.5 inches for a 5 inch handle. The fades are 1.5 inches. Just past mid limb I tapered to 1 inch nocks. The nocks and handle will be shaped later.
If the string is too off center, remove more wood fro, the other side of the handle and cut the nocks further on the off side to bring the string closer to center.
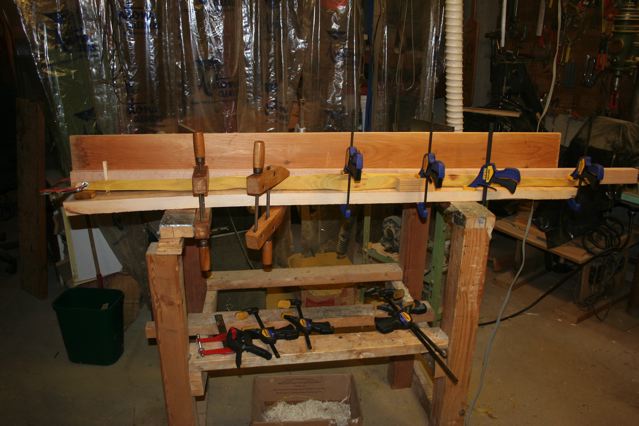
Begin to floor tiller the stave. I use a surform for the wood reduction to get an even bend.

The limbs will have to be heated and straightened. Floor tillering will make them easier to bend. I use a heat gun but first I grease the back of the bow to better distribute the heat and keep the stave from loosing to much moisture. The photo shows my set up. I heat and bend 1 limb at a time.
The bending left a bit of a crack in the upper limb on the belly at about mid limb. Most of the crack came out after final tillering but note that that I left the upper limb a bit stiffer in that area.
I cut the nocks by measuring in 1/2 inch from the tip, drawing a line, measuring 3/4 inch from the tip, drawing a line and then drawing a diagonal pointing to the handle. I make an initial cut with a hacksaw and widen it with a 1/8 inch file.
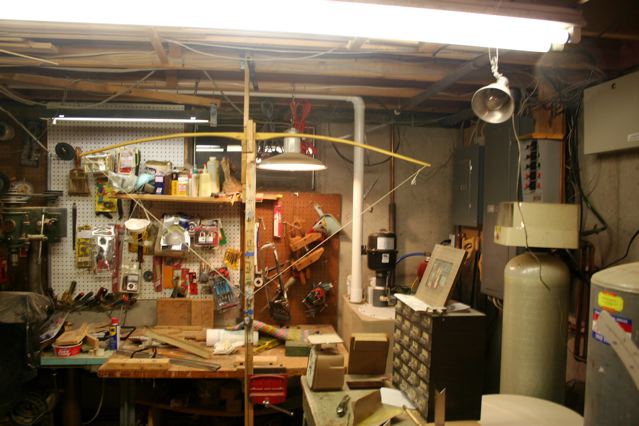
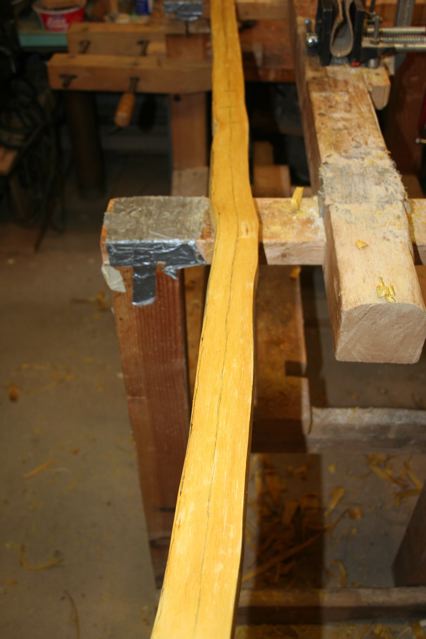
The above photo shows the stave in my rope and pulley for long stringing tillering. I use sash cord. I long string tiller out to 10 inches. I remove wood in order to get a good bend to the limbs. I check weight with my hand held scale looking to obtain 5# over final target weight.
Thus, if I want a 50 pound bow. I look to get around 55 pounds at 10 inches. This puts the stave at around 65 pds. Perfect for stringing with the short string.
Once I string the stave I stop using the surform. Final tillering is done with the Swedish push knife used as a scraper. This leaves a smoother finish.
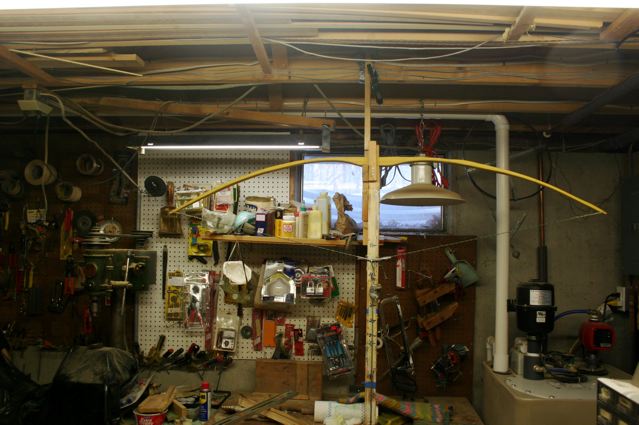
The above picture shows the stave being tillered.
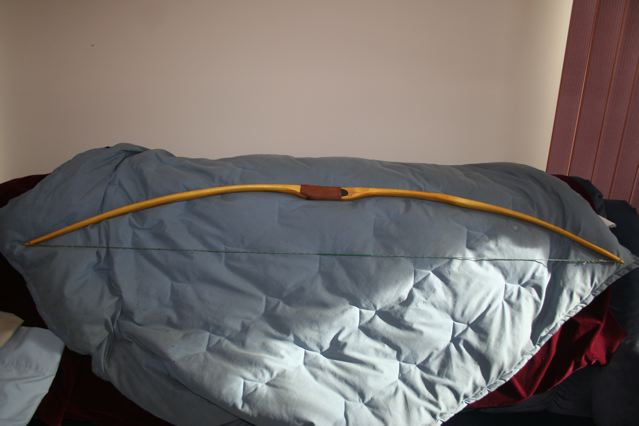
Final finsih consisted of 3 coats of Tru Oil to seal the pores and 3 coats of spray spar urethane.
Set is negligible on this bow. The final weight is 52 pds. at 26 inches. The handle is 1.25 in wide and the arrow pass is 1.25 in. above center.
Here is the bow braced.
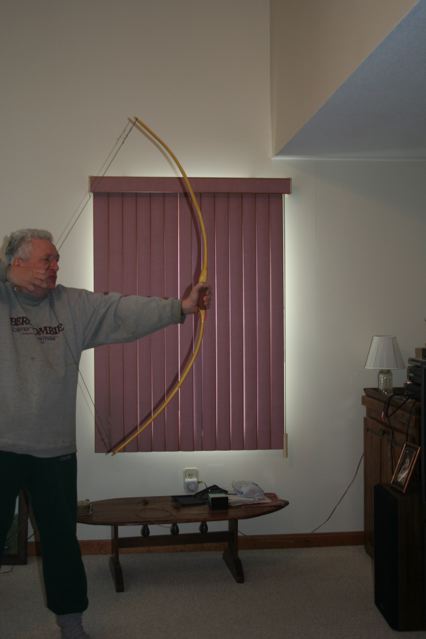
Here it is at full draw.
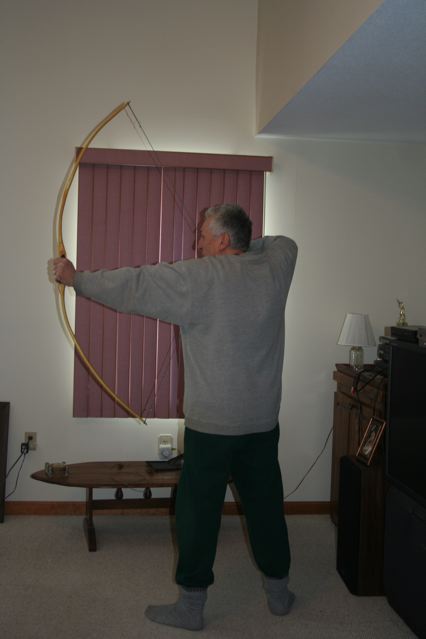
It is good to check full draw from both sides.