Silk makes an excellent backing and is an organic material which should please the purist. It will keep a bow together that is about to shatter and will also keep a splinter from getting worse. I cut the silk into strips wide enough to cover the back of the bow. If the material is not long enough, 2 strips may be joined at the handle. I use Titebond II waterproof glue because I hunt and shoot a lot in the rain. Hide glue is an excellent alternative and gives one more time to place the silk on the back of the bow since it takes longer for it t dry. Its drawback, however, is that it is not waterproof.
Before actually placing the silk on the bow, size the back of the bow with the glue you are using. Quickly, place one end of the silk on the bow and clamp it with a wood clamp. Continue placing the silk on. Stretch and smooth it as you go along being careful not to have any bubbles on the back of the bow. Clamp the other end. Use a screwdriver handle or other round, cylindrical handle to smooth out the silk when you come to the end. You might have to place extra glue near the edges.I like to size the silk with more glue once it is in place and dried. Let everything dry and then trim the silk with a very sharp knife. Sand the edges, if needed, and place down a bit more glue if you need to. Let everything dry. I sometimes wrap nylon thread or artificial sinew mid limb or around any seams in the silk. I set the thread in Duco. It serves as a decoration and does add some strength to your set up. I sometimes like to paint the back with water based acrylic paint. Silk takes paint very well. After the glue has dried you can paint and decorate as you wish. The silk makes a beautiful canvas on which to paint designs and decorations.
Two or three coats of water based polyurethane are brushed on. I also add a coat or 2 of woodworker's paste wax to complete the finish.
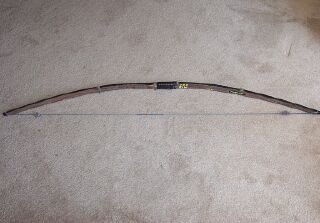
This is picture of a red oak board bow saved by a silk backing. The bow had several "run ups" per limb which is too many for an unbacked board bow.
This is a picture of an Australian pine (beefwood bow). The stave was a gift from Steve Sefsick and was cut in Florida. She draws 52# at 26 inches. The back of the stave showed many drying cracks, was filled in with a dilute solution of Titebond II and needed a silk backing for insurance.
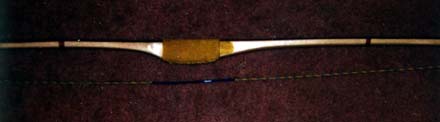
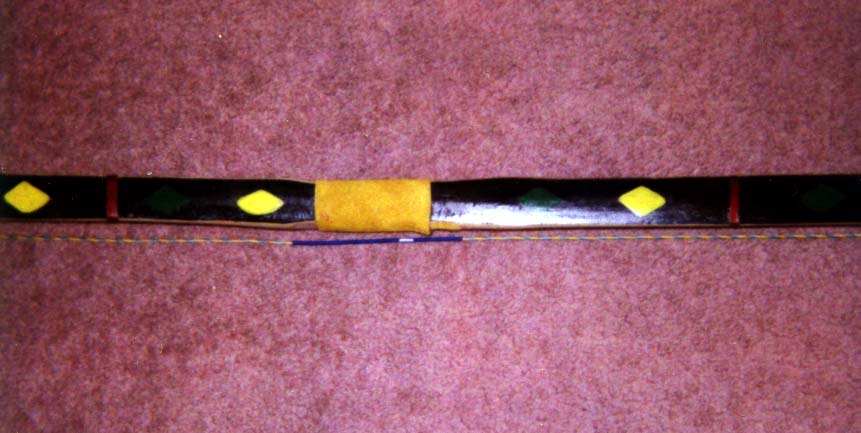
This is the handle of the bow and shows the yellow leather handle and matching arrow pass. The arrow shelf is the top of the handle and consists of 2 pieces of leather glued together and to the wood. The first piece is 1/2 in. wide and the other is 1/4 inch wide. The pieces are sanded and tapered on the bottom to blend nicely together.Both extend to nearly the thickness of the handle.
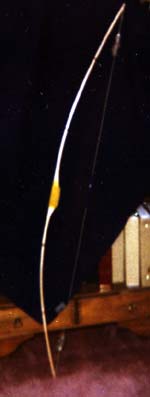
This is the picture of the bow's back. There are yellow and green painted designs on the back. You can also see the red nylon thread put on as a decoration to hide the seams in the old silk dress.
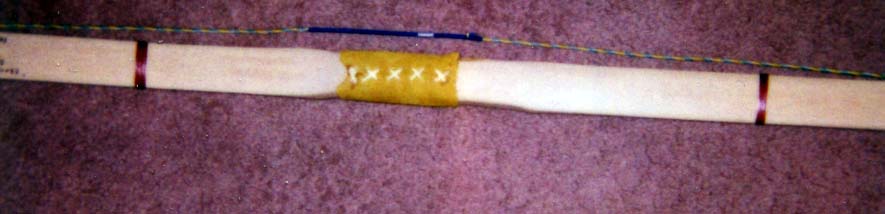
This is a picture of the belly of the bow showing the cross stitching of the handle area. the leather handle is cut to shape and an even number of holes are drilled or punched on each side. The leather may be cut a little narrower and misted with water to allow it to stretch making for a tight fit. The stitch is done starting at the top and passing both ends through each side and pulling down through the middle. Alternate the stitching. I use stout enough cord to push it through by hand. I then glue the handle leather on with Titebond II, pull it in place and tighten the stitching.
Copyright 1999 George C Tsoukalas
