The footed arrow usually consists of the main shaft which may be pine or cedar and a footed hardwood point end. Most footed arrows also consist of a reinforced nock. Footed arrows are beautiful and fun to make. For the fletcher they are a supreme accomplishment. Yes, they are time consuming but for the craftsman or crafts woman time is not important. The method I use involves hand planing white pine into arrow shaft material. Elsewhere on this site you will find directions for making pine shafts from 1/2 in. x 1/2 in. x 3l in. table saw rips. Before attempting footed shafts with this method start by making your own white pine shafts. Pine Shaft Hints
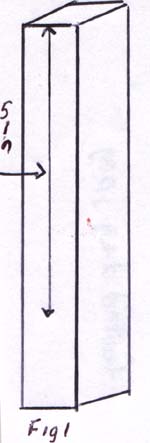
To begin making your footed arrow, cut a 1/2 in. by 1/2 in. x 7 in. piece of footing material. Mark a distance of 5 in. down the length of this material. With a hand or a band saw, cut straight down the middle to the 5 in. mark. See Fig 1.

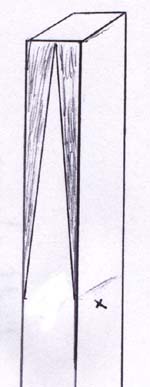
Next, on your pine rip, measure down 5 inches and scribe a line. Draw a diagonal line from the top at the mid point to the 5 in . line. See Fig. 2.

Remove wood from the shaded area with a hand plane, band saw or portable stationary belt sander. I use my 1 in. plane to get close to the pencil mark and finish the shaping with my portable belt sander.
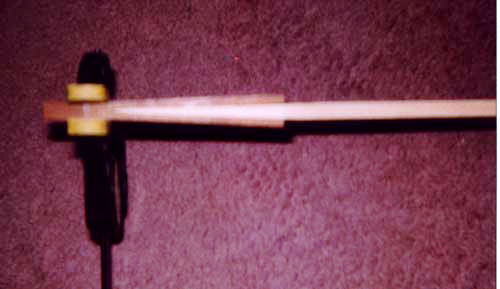
Next clamp the hardwood stock to prevent splitting. The clamp should be placed right next to the cut. on the X in Fig 2. Check the fit. You may need to sand the pine a bit more.
Apply glue to the joints. I like Titebond II. Fit the two pieces together as in the diagram below. Clamp liberally to close the joint. Let dry.

The next procedure is to hand plane the whole set up into the shape of your shaft. I remove the bulk of the material on the footing with my shop sander and proceed as I have described under Pine Shaft Hints on this site to plane and smooth the footing and main shaft area into shaft form. Cut your shaft to size. You will want to add a reinforced nock as the final touch. That procedure is described under Self Nock Hintselsewhere on this site. You may apply additional glue to the joints to fill in any tell tale gaps unless you are staining. I leave my footed arrows clear to show the contrasting wood colors.
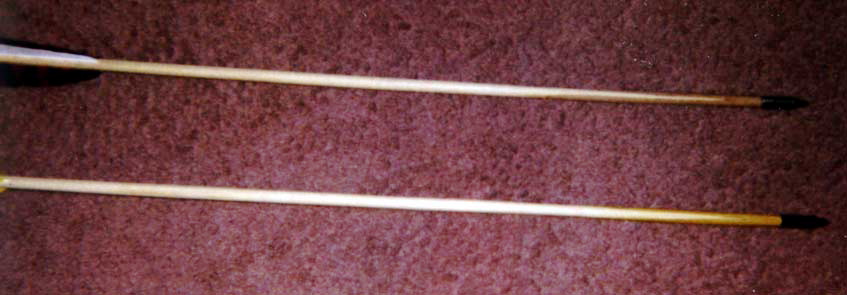
Footed arrows are shown in the diagram below. The top arrow is footed with mahogany while the bottom one is footed with osage.


Copyright 2001 George C Tsoukalas